How to Make Freeze Dry Candy at Home Easily?
Creating your own Freeze Dry Candy at home can be a fun and rewarding project. According to expert candy maker Julia Smith, “Freeze Dry Candy captures flavors in a unique way.” This method is gaining popularity among candy enthusiasts and home chefs alike.
Freeze Dry Candy involves removing moisture while retaining color and taste. You end up with a crunchy treat that is light and full of flavor. It’s an art that requires patience and practice. Many beginners struggle with the timing and temperature settings on their freeze dryer.
However, the outcome can be delightful. Imagine the vibrant colors and the intense flavor. You may encounter challenges, such as uneven drying or loss of texture. Reflecting on these moments can lead to better results. With a bit of perseverance, you can master the art of Freeze Dry Candy.
Understanding Freeze Drying and Its Benefits for Candy
Freeze drying is an innovative method that removes moisture from food while preserving its structure and nutrients. For candy enthusiasts, this process enhances flavors and textures without losing quality. According to industry reports, freeze-dried candy can have up to 90% less moisture than conventional candy, resulting in a crunchy and burst-in-your-mouth experience.
Moreover, the benefits extend beyond just taste. Freeze-drying can help extend the shelf life of candy significantly. Research shows that properly freeze-dried products can last up to 25 years without losing flavor or quality. In contrast, regular candies may only last 6-12 months, making freeze-drying a cost-effective solution for long-term storage and snacking pleasure.
However, the process may be more challenging than it seems. Achieving the right temperature and pressure is crucial. Many home setups can struggle with this balance, leading to inconsistent results. It's essential to refine your method and experiment with different candies. If the moisture is not fully removed, candies can spoil quickly. Understanding the science behind freeze drying is key. Grab a vacuum pump and some freeze-dry trays, and start creating delicious treats.
Benefits of Freeze Drying Candy
Essential Equipment Needed for Home Freeze Drying
When it comes to freeze-drying candy at home, having the right equipment is crucial. A freeze dryer is the heart of the operation. It operates by freezing the candy and then creating a vacuum, allowing moisture to escape. However, these machines can be expensive. If you are not ready for that investment, you might consider alternatives.
Vacuum sealers are handy. They help remove air from bags, which prolongs the life of your candy. You can also use a regular freezer as a starting point. Freezing candy and then using a dehydrator can yield interesting results. However, the texture may not be as light as with a commercial freeze dryer.
Don’t forget the basics, like baking sheets and parchment paper. These are vital for laying out your candies. It’s also useful to have an airtight container for storage after the freeze-drying process. Remember, not all candies behave the same way. Some may turn out soggy while others become too hard. Experimentation is key, and be prepared for some mishaps along the way.
Step-by-Step Guide to Preparing Candy for Freeze Drying
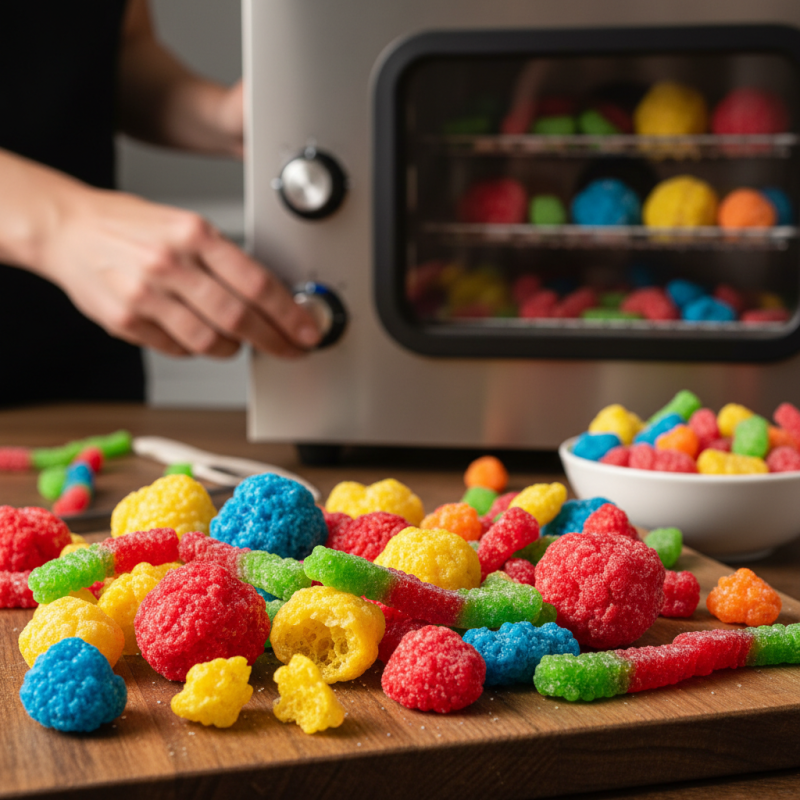
Preparing candy for freeze drying is a fun and rewarding process. Start with fresh, soft candies, such as gummy bears or marshmallows. Cut larger pieces into smaller parts to ensure even drying. This step is essential for better texture and taste.
Next, arrange the candy on the freeze dryer trays. Ensure there is space between each piece. Overcrowding can lead to uneven results. Take a moment to appreciate the colors and shapes. It's important to remember that not every experiment will turn out perfectly. Some candies may become too hard or lose their flavor.
Once your trays are ready, place them in the freeze dryer. The machine will remove moisture, enhancing the candy's crunchiness. It can take several hours, so be patient and check periodically. After drying, store the candies in airtight containers. Reflect on the flavors that worked well and those that didn’t. This trial and error is part of the fun!
Tips for Properly Freeze Drying Candy at Home
Freeze drying candy at home is a fun and rewarding process, but it requires care and attention. To achieve the best results, maintaining the right temperature and pressure is essential. According to industry data, proper freeze drying can remove about 98% of moisture from candy, preserving flavor and texture. High-quality freeze dryers achieve a temperature of -40°F to effectively freeze candy while vaporizing the moisture.
When preparing candy for freeze drying, ensure it is evenly cut and spread out on trays. This uniform distribution allows for consistent freeze drying. Too much overlapping can lead to uneven results. Monitoring the process is crucial. You should check frequently for the candy's texture. Some candies may take longer than others.
To improve your technique, keep a journal of your freeze drying sessions. Documenting specifics like time, temperature, and candy type can help refine your process. It may lead to unexpected outcomes, which can be enlightening. Remember, not all creations will succeed on your first try. Experimentation can yield surprising flavors and textures. Embrace the learning curve and enjoy the creative aspects of freeze drying candy at home.
Storage and Enjoyment of Your Homemade Freeze-Dried Candy
Freeze-dried candy is a fun treat that you can make at home. After creating these delightful confections, proper storage is crucial. Store them in airtight containers to keep moisture out. Glass jars work well. They should be kept in a cool, dark place. This helps to preserve their texture and flavor longer.
When it comes to enjoying your homemade freeze-dried candy, presentation matters. Use a colorful plate or a clear jar when serving. It makes the candy look more appetizing. Break the candy into bite-sized pieces for easy sharing. Friends and family love these snacks.
Tips: Remember to check for any signs of moisture. If any candy feels sticky, it may not be fully dried. In that case, you might want to re-dry them. Experiment with flavors and textures while making candy. Some combinations may not turn out as expected, but that’s part of the journey! Don’t be afraid to try new things. Happy snacking!