
Blog

How to Choose the Best Hiking Shoes for Your Needs?

Choosing the best Hiking Shoes begins with your feet, your route, and the weather you expect. A rocky mountain trail demands different support from a flat woodland path. Wet conditions may require waterproof protection, while hot climates often favor breathable mesh. Small details matter. Heel movement, toe pressure, and sock thickness can change your entire hike.

Andrew Skurka, an experienced long-distance hiker and outdoor educator, explains, “There is no one-size-fits-all answer when it comes to footwear.” His point is practical. The most expensive pair may still cause blisters if the shape does not match your foot. Try shoes late in the day, when feet are slightly swollen. Walk down a ramp or stairway. Your toes should not strike the front.

Weight, grip, cushioning, and ankle support also deserve careful attention. However, more protection is not always better. Heavy boots can feel tiring on easy trails. Lightweight shoes may feel insecure on loose, wet ground. I have learned that comfort during the first five minutes can be misleading. A shoe must remain stable after several hours, not only in a store.

This guide will help you compare Hiking Shoes by terrain, fit, materials, and personal hiking style. It will also question popular assumptions. Waterproofing sounds ideal, but trapped moisture can create discomfort. Strong tread looks reassuring, yet poor fit can ruin a promising adventure. Choose with evidence, then test carefully before committing to a long route.
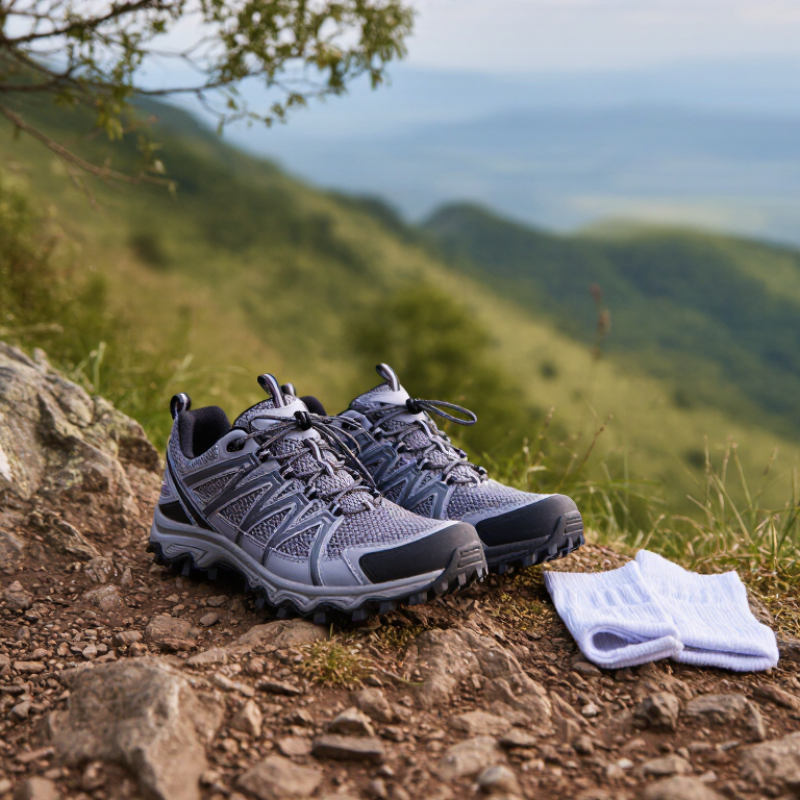
How to Choose the Best Hiking Shoes for Your Needs?

Understanding Hiking Shoe Types and Their Intended Uses

Choosing the right hiking shoes starts with understanding what each type is designed to do. Trail shoes are light, flexible, and suitable for maintained paths or short day hikes. Hiking shoes add firmer soles and more protection for rocky, uneven ground. Hiking boots provide stronger ankle coverage and stability, especially when carrying a heavy pack. Backpacking boots are stiffer and built for long trips, rough terrain, and heavier loads. More support is not always better.

Your route, pack weight, weather, and foot shape should guide the decision. On a dry forest trail, flexible shoes may feel comfortable and efficient. On wet slopes, deeper tread and water resistance can improve confidence. However, waterproof materials may trap heat during warm hikes. I learned this after several hours of sweaty feet. Comfort matters more than impressive features.

Tips: Try shoes in the afternoon, when feet are slightly swollen. Wear the socks used on hikes. Walk downhill and check that your toes do not hit the front. Leave modest space, but avoid heel movement. Inspect the sole pattern and flex point. A stiff shoe can protect your feet, yet it may feel awkward on easy trails. Break footwear in gradually, and test it near home before trusting it on a remote route. I still sometimes choose lighter shoes than experts recommend, but the mistake becomes obvious when mud, stones, and a full pack meet.

Assessing Terrain, Weather, Distance, and Hiking Conditions

Choosing hiking shoes starts with the trail, not the label. The Outdoor Industry Association reported 175.8 million Americans participated in outdoor recreation in 2023. That broad figure includes short walks and demanding mountain routes, so one shoe cannot suit every outing. The National Park Service recorded about 325.5 million recreation visits in 2023, reflecting widely different surfaces and conditions (NPS Visitor Use Statistics, 2023).

For rocky trails, select a firm sole with deep, widely spaced lugs. It should resist sharp edges without feeling like a rigid work boot. On wet soil, narrower lugs can shed mud better than shallow patterns. Waterproof membranes help in rain and shallow puddles, but they may feel hot during humid summer hikes. A breathable shoe may be wiser for dry, warm routes. Think about distance, too. Short hikes can tolerate a lighter shoe, while long routes need stable cushioning and a secure heel. Your toes need room to swell.

Fit beats hype. Walk downhill before buying. Your heel should stay planted, and your toes should not touch the front. I once chose extra cushioning for a long route and ignored poor grip. That mistake became obvious on wet stone. Conditions change quickly. A forecast cannot describe every shaded, muddy section. Check recent trail reports, test your socks, and question whether your preferred shoe matches the actual ground beneath you.

Choosing the Right Fit, Support, Cushioning, and Traction

Choosing hiking shoes starts with fit, not appearance. The Outdoor Foundation’s 2024 Outdoor Participation Trends Report recorded more than 58 million U.S. hiking participants in 2023. That scale reflects varied terrain, from paved paths to loose mountain scree. Your shoes must match your usual ground.

Fit comes first. Try shoes late in the day, when feet are slightly swollen. Leave a thumb’s width before the longest toe. Your heel should stay planted while walking downhill. I once chose a snug pair for better control, but numb toes appeared after two hours. That mistake still influences my fitting routine. Measure both feet, wear hiking socks, and test every lace eyelet. The American Podiatric Medical Association consistently emphasizes proper fit and adequate toe room for reducing pressure and friction.

Support should feel stable, not rigid. A firm heel counter can limit unwanted movement, while moderate arch structure may reduce fatigue on uneven trails. Cushioning depends on distance, pack weight, and personal tolerance. Thicker midsoles soften rocky paths, but they can reduce ground feel. Too much softness may also feel unstable on side slopes. Traction deserves equal attention. Deep, spaced lugs shed mud, while closer patterns can feel smoother on dry rock. Check the outsole after several walks, because rubber wear changes grip before the shoe looks damaged. Data helps, but your own feet remain the most honest test.

Comparing Materials, Durability, Weight, and Waterproofing

How to Choose the Best Hiking Shoes for Your Needs?

When I test hiking shoes, I start with the trail, not the advertisement. Smooth leather resists granite edges, while synthetic mesh feels cooler on humid climbs. Some hybrid designs balance both qualities. Check the toe cap and heel counter with your fingers. They should flex slightly, not collapse. Inspect stitching around the lace eyelets. I once trusted a soft upper that looked comfortable, but it stretched badly after three wet hikes.

Weight affects every uphill step. A lighter shoe can reduce fatigue, especially on long, dry routes. However, thin materials may offer less protection against sharp stones. Waterproofing creates another trade-off. A sealed membrane keeps feet dry in shallow puddles and wet grass. Yet, sweat can remain inside during warm climbs. Look for drainage and ventilation features, not waterproof claims alone. Test the shoes with your usual hiking socks.

Fit still controls durability and comfort. Your heel should stay secure without painful pressure. Leave enough space for toes when walking downhill. Try them late in the day, when feet are slightly swollen. Walk over stairs or uneven ground before buying. I sometimes choose extra protection and regret the added weight later. That hesitation is useful. Your route, weather, foot shape, and walking pace should guide the final choice.

Testing, Maintaining, and Replacing Your Hiking Shoes

Choosing hiking shoes starts with your feet, terrain, and walking habits. A light shoe may suit dry paths, while rocky trails need stronger support. I test new shoes on short walks before carrying them into remote areas. Walk uphill, downhill, and across uneven ground. Notice heel movement, toe pressure, and hot spots. A comfortable fit matters more than impressive-looking materials.

After each hike, I remove stones and loosen the laces. I let the shoes dry naturally in a ventilated room. Direct heat can weaken adhesives and stiffen leather. I scrub mud from the sole with a soft brush. Then I inspect the tread, seams, eyelets, and midsole. Small cracks deserve attention. I once ignored a loose eyelet because the shoes still felt comfortable. That mistake caused painful pressure on a later hike.

Replacement timing depends on use, not just age. Measure the tread carefully, especially under the heel and forefoot. Replace the shoes when the pattern becomes shallow or uneven. Persistent slipping, crushed cushioning, or separated layers also signal failure. A worn sole can change balance on wet rock. I sometimes keep old shoes for garden work, but that habit can hide their declining support. Keep a simple mileage note after each long walk. It will not predict every failure, yet it helps reveal patterns.

How to Choose the Best Hiking Shoes for Your Needs? — Testing, Maintaining, and Replacing Your Hiking Shoes

Decision or Care Area What to Check Practical Test or Guideline Why It Matters
Hiking terrain Trail surface, steepness, distance, and expected weather Choose flexible, lightweight shoes for smoother trails; look for firmer support and deeper tread for rough, steep, or muddy routes. The terrain determines the grip, protection, and stability you need.
Fit and toe room Heel hold, toe space, and pressure across the forefoot Try shoes later in the day with your hiking socks. Walk downhill or down a ramp: toes should not strike the front, and the heel should not lift excessively. Feet may swell during a hike, and a poor fit can lead to blisters, bruised toes, or discomfort.
Support and cushioning Midsole firmness, arch comfort, and ankle movement Walk on a firm surface and uneven ground. Check that the shoe feels secure without painful pressure or restricting natural movement. Comfort and support needs vary with foot shape, pack weight, and trail conditions.
Traction Lug depth, spacing, and outsole condition Look for a tread pattern suited to your usual surfaces. Test carefully on safe, dry uneven ground; no outsole guarantees grip on every wet or loose surface. Appropriate tread can improve footing, but hiking still requires care on slippery terrain.
Break-in and field testing Hot spots, rubbing, lace pressure, and comfort over time Start with short walks, then gradually increase distance. Adjust lacing and stop to address rubbing before it develops into a blister. Short test walks can reveal fit problems before a long hike.
Water protection Expected rain, stream crossings, breathability, and drying conditions Match the shoe construction to your climate and activity. After getting wet, remove insoles and let shoes air-dry away from direct heat. Waterproof construction can help in wet conditions but may dry more slowly and feel warmer than non-waterproof options.
Cleaning and maintenance Mud, grit, damaged stitching, worn tread, and loose components Brush off dirt after use, clean according to the care instructions, and inspect the sole and upper regularly. Avoid high heat, which can damage materials or adhesives. Routine care helps prevent avoidable wear and makes damage easier to spot.
Storage Moisture, heat, and prolonged compression Store shoes clean and fully dry in a cool, ventilated place. Do not leave them in a hot car or sealed while damp. Excess heat and trapped moisture can shorten the useful life of footwear.
Replacement timing Persistent discomfort, worn tread, separating soles, or damaged structure Replace shoes when wear affects fit, grip, or support, or when damage cannot be safely repaired. There is no reliable mileage limit for every hiker. Service life depends on terrain, use, body weight, care, and shoe construction.
Final pre-hike check Laces, tread, sole attachment, and overall fit Before each hike, check for loose laces, packed debris, visible damage, and changes in comfort. Reassess fit if you change socks or insoles. A quick inspection can help catch issues before they become problems on the trail.
Use fit and comfort as individual checks: foot shape and hiking conditions differ, so try shoes with the socks and insoles you expect to wear.