
Blog

10 Tips for Choosing Custom 3D Medals

Choosing Custom 3D Medals is about more than adding depth to a design. The right choices help a medal feel balanced in the hand, read clearly from a distance, and hold up to repeated handling. A raised emblem can catch the light beautifully. It can also make small lettering hard to read.

Design expert Don Norman wrote, “Good design is actually a lot harder to notice than poor design.” That idea fits custom medals: thoughtful relief, clean edges, and a suitable finish should work together without competing for attention. Before approving a proof, check the artwork at its actual size. Inspect narrow gaps, lettering, and the transition between raised and recessed details.

The ten tips ahead explore practical decisions, including purpose, shape, material, relief depth, color, finish, and production samples. Ask how the medal will be worn or displayed. A piece for a jacket may need different details from one kept in a presentation case. Review the supplier’s proof carefully, and confirm dimensions and attachment options before production. Small oversights matter.

There is no single perfect specification. A deeper sculpt may look impressive on screen but feel crowded in metal. That trade-off deserves a second look. These tips offer a grounded starting point for discussing Custom 3D Medals with a manufacturer and turning an appealing sketch into a clear, well-made keepsake.
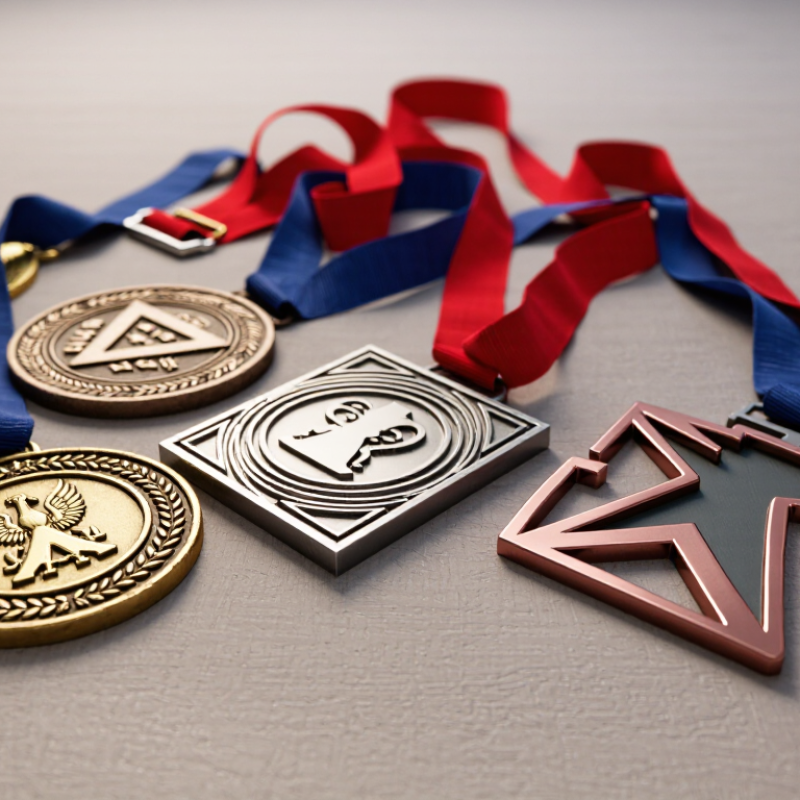
10 Tips for Choosing Custom 3D Medals

Define the Purpose, Audience, and Requirements for the Medals

Before sketching a custom 3D medal, decide what it needs to recognize. A marathon finisher, a school science fair winner, and a volunteer team need different visual cues. A children’s event may call for bold shapes and readable lettering. A formal anniversary piece may suit restrained details. Keep the purpose specific. “Celebrate achievement” is too broad to guide a design.

Tip: Name the recipient and the moment. Ask whether the medal will be worn, displayed, or presented in a ceremony. That answer affects its size, weight, edge shape, and attachment. If people will wear it for hours, a heavy raised center may feel awkward. Test a paper mock-up first. Simple, but useful.

Write down practical requirements before approving artwork. Set approximate dimensions, quantity, budget, preferred finish, delivery date, and required text. Check that details remain clear at the chosen scale; tiny lettering can blur between raised lines. Share a reference image or rough sketch, and ask the maker which features may be hard to reproduce consistently. Leave room for a revision. Plans change, sometimes late, and not every early idea works. Still, changing the audience or event after production begins can add avoidable cost and delay.

Plan the Shape, Artwork, and Level of Three-Dimensional Detail

A strong custom 3D medal starts with a shape that supports its message. A circular face suits a seal or emblem, while a shield can frame a team crest. Sketch the outline at actual size before adding detail. Small notches may look sharp on screen but become fragile or crowded in metal. Keep edges comfortable to handle.

Artwork needs to work from several feet away and up close. Use a clear focal point, such as a raised torch against a recessed background. Limit tiny lettering; narrow strokes can fill in during production. Check the design in one color before choosing finishes. If the silhouette is unclear without color, revise it. Simple often reads better.

Three-dimensional detail adds depth, but every raised or recessed feature needs a purpose. A high border can protect the central artwork, while shallow texture adds contrast without competing with it. Ask the maker to review a scaled drawing and confirm minimum line widths, relief height, and spacing. A digital mockup helps, though it may not show how light catches real metal. Leave room for adjustment. Not every detail survives scaling. Inspect a sample when possible, especially if the medal includes fine lettering or layered relief.

10 Tips for Choosing Custom 3D Medals: Plan the Shape, Artwork, and Level of Three-Dimensional Detail

Design planning priorities for a custom 3D medal

Scores use an editorial 1–5 planning rubric, not survey or industry data. Higher scores indicate design areas that may need more attention when planning a custom 3D medal.

Choose Suitable Materials, Production Methods, and Finishes

Tip: Choose the material around the medal’s size, relief, and intended feel. Zinc alloy can suit layered shapes and raised details, while brass is often chosen for a substantial, classic look. Ask the maker how thin lines will reproduce in your chosen material. Small details matter. A delicate line may soften when reduced to medal size, so review a scaled drawing before approving production.

Tip: Match the production method to the design. Casting can accommodate rounded, sculptural forms; stamping or striking may work well for flatter designs with crisp relief. Share the medal’s dimensions and a clear artwork file, then request a sample or production proof. Check the edges and recessed areas, not just the front. I would not assume a complex design will look better simply because it uses deeper relief.

Compare Sizes, Colors, Ribbons, and Attachment Options

Custom 3D medals feel substantial, but size affects weight, detail, and cost. Compare actual dimensions against a ruler or a familiar object before approving a design. A 50-millimeter medal may suit a bold emblem, while finer lettering often needs more room. Ask for a scaled proof, and check whether raised edges remain clear at the chosen size. Small details matter.

Tip: Compare colors under ordinary indoor light. Enamel can look brighter on a screen than on metal, so request color references or a physical sample when accuracy matters. Limit the palette if tiny sections blur together. A restrained finish may read better than extra colors, though it can feel less vivid than expected.

Tip: Match the ribbon and attachment to how the medal will be worn. A wider ribbon spreads weight more comfortably, while a narrow one takes less space around the neck. Check ribbon length, stitching, and how securely it connects to the medal. For pins or clips, consider the garment fabric and movement. I would test the attachment on similar material; a design can look neat on paper and still twist during use.

Review Samples, Supplier Quality, Costs, and Delivery Times

10 Tips for Choosing Custom 3D Medals

Review a physical sample under bright, angled light. Check whether raised lettering stays sharp, recessed lines remain open, and the edges feel smooth. Ask how the sample differs from the finished production run. A sample is not a guarantee. Confirm the supplier’s quality checks, including who approves color, plating, and final dimensions. The American Society for Quality’s cost-of-quality guidance notes that poor quality can account for a substantial share of manufacturing costs. That makes written inspection criteria more useful than a vague promise of “premium” workmanship.

Request a quote that separates setup or mold charges, unit price, packaging, revisions, and freight. Compare the same quantity and finish across suppliers; a low unit price can hide expensive setup fees. Ask for a dated schedule covering artwork approval, sample production, bulk manufacturing, and dispatch. McKinsey Global Institute’s 2020 supply-chain analysis estimated that disruptions lasting a month or longer occur about every 3.7 years. Build in a buffer, especially when medals are needed for a fixed event date. Get tracking details and a clear remedy for late or defective orders in writing. It is easy to underestimate proofing time. I would still recheck tiny text after every artwork revision.